Showing posts with label condiments. Show all posts

Friday, July 11, 2025

Mint Jelly

 Ahhh! Fresh mint, the gift that keeps on giving everywhere in the garden.  It’s persistent… What better way to curb it than turning it into mint jelly.  Fresh mint jelly, perfect for gift giving or serving with your favourite lamb roast.  

The last time in tried buying it in a store, the only jar of “mint” jelly contained no mint, just “flavouring”,  Go figure.  Once you try this mint jelly, you will never want to be without it.  Thanks to Canadian Living for this recipe.


To make approximately 5 250 ml jars.

Ingredients

2 cups  lightly packed fresh mint leaves

1/2 cup white wine vinegar

1 pkg    Powdered fruit pectin

4 cups   Sugar


Directions

In a saucepan, combine mint with 3 1/2 cups of water.  Bring to a boil over high heat, gently mashing with a wooden spoon.  Remove from the heat, cover and let stand for 15 minutes.

Pour the mint mixture into a damp jelly bag suspended over a large glass measuring bowl.  Let drip without squeezing the bag, until the mint infusion measures 3 cups, about 2 hours.

In a large pot, stir together the mint infusions, vinegar and pectin.  Bring to boil over high heat, stirring often.  Gradually stir in the sugar, return to full rolling boil over high heat, stirring often.  Boil hard, stirring constantly for one minute,


Remove from heat.  Stir and skim off any foam for 5 minutes.  Fill hot 250 ml jars, leaving 1/4 inch headspace.  Wipe the jar rims clean, place clean lids on the jars and tighten.  Place in a steam canner for 10 minutes (when the dial reached the green line).  Remove the lid carefully, leave the jars in the uncovered canner for another five minutes.

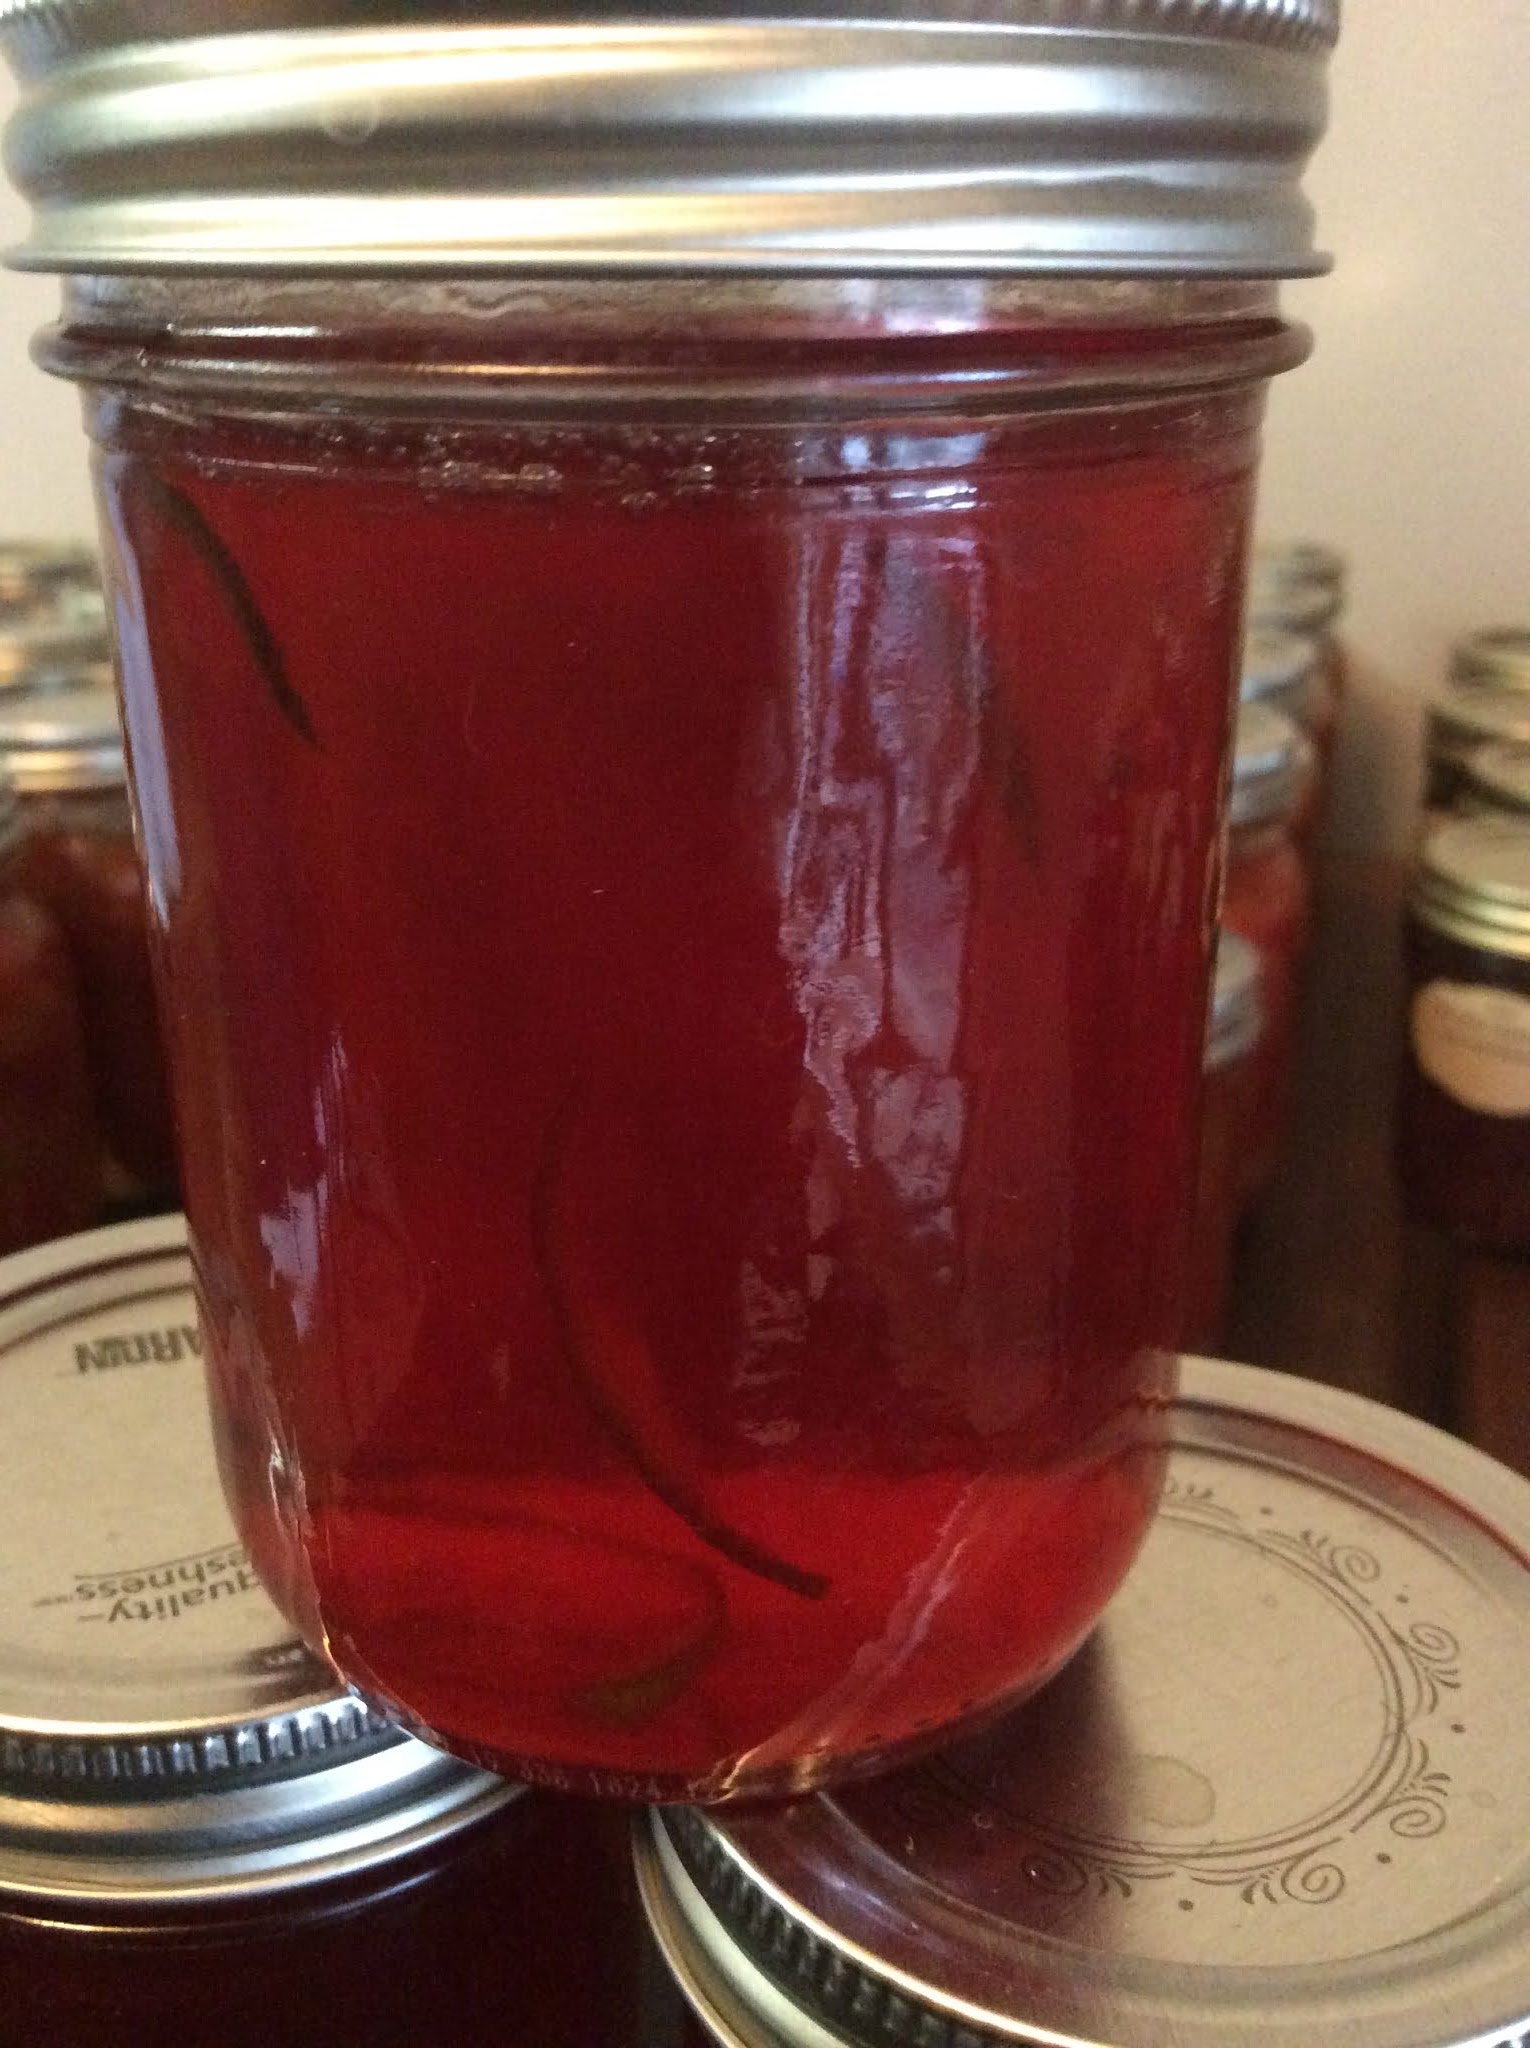
I AM PLAYING:  I had a few extra ingredients in the kitchen: candied lemon peel, a fresh lime and a hot pepper.  Oh a bottle of tequila flavoured with hyacinth and grapefruit. So, added the candied peel from a whole lemon, thinly sliced lime and hot pepper. These were added after the final boil.   The tequila was added to make the mint infusion come to 3 1/2 cups at the same time as the vinegar a pectin. 


Friday, August 2, 2024

Peach Salsa

 Based on Marisa McClennan’s recipe, this peach salsa is a mild one w'ith just en.

'

ough heat to make it a salsa.  Hey, co'uld can always add more.  There are no tomatoes in this one, which is my preference.  You can use this salsa to top your tacos, and also your BBQ’ed chicken or enjoy with tortilla chips.

To make 4 500ml jars.

Ingredients

6 cups.        peeled, pitted and chopped peaches (about 4 lbs)

1 1/2 cups   Finely chopped onion (1 large)

1 1/2 cups   White vinegar

1 cup            chopped, sweet red pepper (1 large)

3/4 cup         granulated sugar

1                   Finely chopped jalapeño pepper 

1                   Finely chopped poblano pepper (or other mild pepper)

3 cloves        Garlic

1 tsp              Ground cumin

1/4 tsp           Cayenne Pepper


Directions

To peel the peaches, prepare a pot of boiling water.  Add the peaches to the boiling water and remove them to a bowl of cold water after about 1-2 minutes.  You should be able to rub off the peach skins quite easily.

To keep peaches from browning, place them in the vinegar called for in the recipe as they are chopped.  

Add the onions, peppers, garlic, sugar and spices to the vinegar and peaches, in a large pot.  Bring to a boil, then reduce the heat to a simmer for about 10 minutes, until the salsa no longer looks watery.  Taste and add additional jalapeño, vinegar, sugar if necessary.

Ladle the hot salsa into the prepared jars, leaving 1/2 inch headspace.  Wipe the rims, apply the lids and bands and place in a steam (or water bath) canner for 15 minutes.  When the time is up, turn off the heat, carefully remove the canner lid and let the jars sit in the canner for about five minutes.  This will help prevent the salsa from reacting to the rapid temperature change and bubbling out of the jars.

Enjoy!


Tuesday, July 16, 2024

Try something new- Josta Berry Jam

 Josta berries are a cross between gooseberries and black currants.  They start out looking like a gooseberry and, by the time they are fully ripe, they look like a black currant.  This fruit is full of pectin and will gel quite readily.  

Lucky for me, I have quite a few bushes of Josta berries in my garden.  Pick in the morning and jam in the afternoon- nice…

This recipe is from Mother Earth News.  


For approximately three 250-ml jars.


Ingredients

4 cups    josta berries, stemmed

2-4 cups granulated sugar

1/4 cup   Lime juice


Directions

Wash and stem the Josta berries and bring to a simmer in a large pot with 1/4 cup of lime juice.  After the berries begin to release their juice, add the sugar and cook for a few minutes before tasting to check for sweetness.  Add more sugar if needed and continue to cook until the jam gels on a cold place or until a thermometer reads 220 degrees

Pour into hot jars leaving 1/2 inch head space, wipe rims and place flat lids and rings onto the jars.  Place in a steam canner for 10 minutes.  At the end of the ten minutes, carefully remove the lid from the pot, turn off the heat and let the jars sit for approximately 15 minutes.  Then remove from the pot and let sit overnight.


Sunday, September 3, 2023

Caramelized Red Onion Relish

 This recipe is adapted from one of my favourite “go to” canning books- Food in Jars by Marisa McClennan.  Check it out.  

I love last year’s Sweet & Sour Red Onion Pickles and I think this year’s love will be Caramelized Red Onion relish.  Besides, I just made a few batches of garlic powder using my freshly harvested garlic.  Will know in a few weeks when the relish has “rested”, how it turns out, garlic and all.

Put this on cheese and crackers, add it to burgers and meats, spread it on a pizza or focaccia.


This recipe makes about 6  250ml jars.


Ingredients

1 tbsp.     Unsalted butter

1.2 kg.     Red onions, sliced into thin half moons (4 or five large onions)  Use your food processor slicing             blade set to 2.5 for uniform slices)

1 cup.       Brown sugar

1 cup.       Apple cider vinegar

1/2 cup.    Malt vinegar

2 tsp.        Sea salt

1 tsp.        Garlic powder

1/2 tsp      Ground black pepper

1/4 tsp.     Cayenne pepper


Directions

I place clean jars in my dishwasher on the rinse cycle to heat them up, ready for filling.

Melt the butter over medium-low heat, in a large canning pot.  Add the onions.  Cook until the onions are golden and fragrant, about 20-25 minutes.  Add the remaining ingredients.  Increase the heat and bring to a boil, then reduce the heat and simmer for 10 minutes, until the liquid is reduced.

Ladle the relish into the hot jars.  Gently tap the jars on a towel lined countertop to help loosen any bubbles, before using a wooden chopstick to dislodge any remaining bubbles.  Wipe the rims, apply the lids and screw bands and process in a steam canner for 15 minutes.  When the processing time is up, remove the lid carefully and let the jars sit in the canner for about five minutes.  This helps to prevent the relish from reacting to the rapid temperature change.

Monday, August 28, 2023

Garlic Powder - it actually smells like real garlic!

I’ve been growing my own garlic for a few years now.  By January, I am losing my bulbs- they are getting way too old.  This year, I decided to try my hand at making my own garlic powder.  Honestly, the most tedious part of the process was breaking up the bulbs, separating the cloves and peeling them.  The rest was a breeze!  Well, it will be if you have a food processor that can slice everything into paper thin slices, a quality dehydrator which lets you adjust the temperature (I dehydrate at 105 degrees) and a powerful blender to make the powder, no lumps.  All worth the investment.


. '


,


Here’s what I did:

I used about 12 garlic bulbs- broken down into cloves and peeled.  Placed them all in the large feeder tube of my food processor, adjusted the slicing blade to its thinnest setting and started the machine.  

It worked perfectly: thin and “sticky” slices - I wanted to make sure not to loose the garlic juices.  Divided the slices onto two trays in my dehydrator, set it to 105 degrees and let it work overnight, with one break to stir them up and move the trays to new positions.

Placed everything in my blender and had beautiful, fragrant garlic powder in less than a minute, no lumps!  About 250 ml of fragrant garlic powder.  To keep it dry, add a small packet of silica gel.

Can’t wait to begin to add to my favourite recipes.


'


Blueberry Mustard

 I love making mustards- Dijon, white wine, stout beer, tequila, etc.  It’s a great list.  This year, I am trying a fruit mustard- blueberry mustard and no alcohol was added to the mix :-). I can’t wait for it to mellow so I can taste it!

Mustards are incredibly easy to make and can pack a real punch.  You’ll never go back to industrial, processed mustard.  This recipe is adapted from the food preserving.org website where you will find a wide range of amazing recipes.  I adapted their raspberry mustard recipe to make a blueberry version.


This recipe makes approx. one - 500ml jar.

Ingredients:

1 cup      White wine vinegar

2/3 cup   Yellow mustard seeds

1 cup       Water

2 3/4 lbs   Blueberries

3/4 cup     Sugar

1/4 cup     Mustard powder


Directions

Add vinegar, mustard seeds and water to a bowl, stir to combine, cover and leave overnight.

Pour the bowl of mustard mixture into your food process, pulse until seeds begin to spoil and the mixture thickens.  Add the blueberries and blend.  Boil gently for five minutes then add the sugar and mustard powder.  Boil until thick (approx. 15 minutes).

Ladle the mustard into hot jars, leaving 1/4 inch headspace, remove bubbles and wipe the rims with paper towel, add the lids.

Process jars in a steam canner (or boiling water canner) for 15 minutes.  When the time is up, turn off the heat and let the jars rest in the water for about five minutes.


Sunday, August 27, 2023

Pickled Cherry Tomatoes in White Wine with Rosemary

 I am constantly on a quest to find great canning recipes for my cherry tomatoes.  This year’s treasure is made up of ingredients all found in my garden: cherry tomatoes, garlic and rosemary.  I used black, red and green cherry tomatoes.  Perfect for this winter’s salads.


Makes six 500ml jars

Ingredients:

6         2” springs of fresh rosemary

6         Cloves of garlic

3 lbs    Cherry or grape tomatoes

           Pickling salt

250 ml  White wine vinegar

250 ml   White vinegar

1 liter    Water


Directions

Wash and snip sprigs of rosemary and set aside.

Peel garlic and set aside.

Wash tomatoes under cold running water, removing stems or leaves.

Using a small,thin metal skewer, do a prick in the stem end of the tomato.

Into each jar, put a clove of garlic, a sprig of rosemary, 1/4 tsp of pickling salt,  Pack tomatoes in the jars, leaving 1/2 inch headspace.

Combine the vinegar and water in a saucepan and bring to a boil.  Fill the jars with the hot vinegar, leaving 1/2 inch headspace.  Debubble, adjust headspace.  Wipe the jar rims; put on lids.  Process in a steam water bath and process for 10 minutes.  At the ten minute mark, turn off the heat, remove the cover and let the jars sit in the water for about five minutes, before removing to cool.

Let stand a month before sampling.


WANNA PLAY?

I added more white wine vinegar and adjusted the white vinegar down to equal the same amount of vinegars.


Monday, May 1, 2023

Sweet and Sour Pickled Red Onion


 What to do when you have five pounds of red onions, freshly picked from the garden?  Within two hours, they were sliced, canned and looking great.  These sweet and sour onions are perfect for sandwiches and as a side for roasts.  I use them for so many things!  For the best flavour, let them sit a few weeks before opening.  

This recipe is from Marisa MacClennan’s Food in Jars canning book and I highly recommend both the book and this recipe.


This recipe makes 8 250 ml jars.

Ingredients

3 lbs    red onions (trimmed and thinly sliced)

2 cups    apple cider vinegar

1/2 cup    water

3/4 cup    sugar  (or 1/3 cup of honey)

1 tbsp    pickling salt

2 tsps    mustard seed

1 tsp    celery seed

1/2 tsp red chili flakes


Directions:

Prepare a canning pot and enough jars to hold 8 250 ml jars of pickled onions.  

Bring a large pot of water to a boil.  Add the sliced red onions and cook for four minutes.  Drain and set aside.

Using the same pot, combine the brine ingredients.  As soon as the salt and the sugar are dissolved, add the red onions.  Stir to combine and remove from heat.

Fill the jars with the onions and brine, leaving 1/2 inch of headspace.  Use a wooden chopstick or end of a wooden spoon to remove as many bubbles from the jars as possible.

Wipe the rims, apply the lids and rings and process in a boiling water bath or steam canner for 10 minutes.  When the time is up, turn off the heat, leave the jars for about five minutes, then remove and set them on a wooden board or folded towel to cool.  Do not disturb for about 24 hours. 

Check the seals- any unsealed jars can be stored in the refrigerator.  Sealed jars can be stored in a cool, dry place (think pantry or basement) for at least one year.


Saturday, October 30, 2021

Singapore Red Chili Sauce

Adding to my repertoire of canned and fermented hot sauces.  This recipe is from Ball.  This sauce is canned and uses up a good amount of chili peppers from the garden.  And, most importantly, is passes the Clark family taste test!

This could be called the Asian version of the ubiquitous Tabasco sauce.  It is delicious with Asian dishes but also with roast chicken, on hot dogs and burgers.  Watch out- it is hot!

Makes about 6 (8 oz) half pints 

Ingredients: 

2 1/2 cups       white vinegar 
2 1/2 cups       granulated sugar 
4 cups             chopped hot red chili peppers, such as Holland (Dutch), Fresno or jalapeño
1 1/2 cups       sultana raisins, rinsed 
1/4 cup            chopped garlic 
1 tbsp             grated ginger root 
2 tsp                salt

Directions:

COMBINE vinegar and sugar in a large stainless steel saucepan. Bring to a boil over high heat, stirring to dissolve sugar. Reduce heat and boil gently for 3 minutes. Add chili peppers, raisins, garlic, ginger root and salt. Increase heat to high and bring to a boil. Reduce heat and boil gently until vegetables are heated through, about 5 minutes. 

LADLE hot sauce into hot jars leaving 1/2 inch headspace. Remove air bubbles and re-measure headspace. If needed, add more sauce to meet recommended headspace. Wipe rim. Center lid on jar. Apply band and adjust until fit is fingertip tight. 

PROCESS filled jars in a boiling water canner for 10 minutes, adjusting for altitude. Remove jars and cool. Check lids for seal after 24 hours. Lid should not flex up and down when center is pressed. 

Sunday, July 4, 2021

Pickled Figs

 Figs- in Ottawa the window for fresh figs is small.  I was looking for a fig preserve perfect to add to a charcuterie board.  I think this is it: sweet, sour, and delicious.


To make approximately 3 x 500 ml jars

Monday, May 17, 2021

Thai Yellow Curry Paste

I love having curry pastes frozen and ready to use from my freezer.  All homemade so I can adjust and personalize the heat, etc.  This recipe is based on one I found on a website- Hot Pepper Madness. com.  I have certainly made a few great curries using my version of this paste. 

Friday, October 16, 2020

Cranberry Jelly with orange

 This cranberry jelly is easy to make, especially with a steam juicer, does not need commercial pectin and is absolutely delicious served alongside your Thanksgiving turkey!


Makes approximately five 250 ml jars

Ingredients:

3 lbs golden delicious apples

2 lbs fresh or frozen whole cranberries (for juicing)

1/2 navel orange, process into small bits in a food processor

2 cups fresh cranberries, process into small bits in a food processor

5 cups water

about 6 cups of sugar


Directions:

Wash apples and cup into large chunks.   Place the apples, along with the cleaned and stemmed cranberries, into the top of the steam juicer. Bring to a boil, then simmer for about 1.5 to 2 hours, being sure to check the water level in the steamer.

Measure strained juice into 6 quart pot.  Add 2 cups of sugar for every 2 cups of juice.  

Stir over low heat until sugar has completely dissolved.  Add the processed orange and cranberries

Bring to a boil and boil rapidly without stirring until candy thermometer reaches 220°F. (This temperature ensures that there is enough sugar for the pectin to form a gel.)

Remove from heat and skim off any scum that has formed on top of jelly.

Pour into sterilized jars. Seal and label.

Wednesday, September 9, 2020

Red Onion Relish- simmered in red wine and delicious!

This has been a family favourite for years!  And now I can pick my onions right from the garden.  I have used this relish to flavour gravies, added it to soups, garnished dishes, stuffed it into beets... Absolutely versatile and crazy delicious.  A great addition to the charcuterie tray, right next to the brie.

I have tripled this recipe mainly because I love it and a bottle of wine provided three cups.  Beware, it will take much longer to thicken, at a low simmer.

Makes approximately 3 - 250 ml jars

Tuesday, September 8, 2020

Grand maman's Ketchup aux Fruits - continuing the French Canadian tradition

This ketchup evokes wonderful memories of traditional Christmas dinners and my mom's ketchup aux fruits.  It's a tradition worth continuing and I am happy to keep making it every fall.

You'll need all the fall favourites: tomatoes, peaches, pears etc.  It's easy to make and always a popular Christmas hostess gift.  


To make approximately 12 500ml jars.

Heat and Sweet Habanero Jelly

 My 2020 garden blessed me with great amounts of hot peppers.  This jelly is delicious and different.  It is based on a recipe from Cathy Barrow, the author of Mrs Wheelbarrow's Practical Pantry.  This is fast becoming a go to preserving book for traditional, and not so traditional, delicious preserves.  There are a few different ingredients in this jelly: honey, dried apricots and dried cranberries.  They mellow the heat of the habaneros and the cranberries add a ruby colour.

This is the version with dried apricots and dried cranberries.  We also made a version without the cranberries.

There’s a lot of mincing/dicing. I like to use the dicing attachment for my KitchenAid mixer, but you can also use your food processor to blitz everything until it’s minced up tiny but NOT liquified. Use gloves when handling the peppers or you risk burning eyes, lips, fingers from the oils in the peppers.

These make perfect hostess gifts- you can also use 125 ml jars for gifting.

Makes about six 250 ml jars

Siempre Tequila Marguerita Jelly

I love Siempre Tequila- full disclosure- my son is co-founder and co-owner of Siempre Tequila. He and his partner put a lot of love and time into nurturing their award winning top shelf brand.

Using the apple pectin stock made with local apples in the canner steamer (instructions included for the stove top method), we moved on to make our own jellies.  

The tequila and lime we added to the jelly smelled, and tasted, wonderful.  I added the salt to mimic the salty rim of the margarita glass- taste your jelly before canning to determine if, and how much, salt you would like to add, or omit.  I am looking forward to sharing this jelly with friends and family!

Fun note- we used real limes for the juice and the zest. If you throw in the lime shells, they will add more pectin to the mix and become deliciously candied.  Fish them out of the jelly before putting into jars and enjoy the "candy."

Those are lime rinds floating around in the jelly

To make approximately five 250 ml jars.

2021 plan: sold out- 10

Wednesday, September 2, 2020

Salsa Verde with tomatillos

In 2020, my garden blessed me with a bounty of tomatillos.  Beautiful, big ones!  **You can substitute green tomatoes for the tomatillos.

When you pull the husk back on the tomatillos, they look like small, green tomatoes and are covered by a sticky substance. Just husk and wash, they are ready for chopping and cooking. 

This salsa is terrific as a dipping sauce, and can also be used in chile verde or green posole.


To make approximately three 500ml jars 

Ingredients

4 lbs             tomatillos, husked, washed, and finely chopped 

1 cup            finely chopped onion (about 1 medium onion) 

3 to 4            jalapeño peppers, minced (seeds removed for a milder salsa) 

8 cloves        garlic, minced 

1 tbsp           ground cumin 

2 tsp            sea salt 

½ cup          bottled lime juice 

¼ cup          minced fresh cilantro (I add it just before serving)

Directions:

The KitchenAid dicer makes quick work of dicing the vegetables.  Combine the tomatillos, onion, jalapeños, and garlic in a large pot. Bring to a boil, then reduce the heat and simmer 10 minutes. Add the cumin, sea salt, lime juice, and cilantro. 

If you prefer a smoother salsa, you can use an immersion blender to break down some of the salsa at this time. Cook for an additional 10 minutes. 

Taste the salsa and add more salt, cumin, or lime juice if necessary. Ladle the hot salsa into the prepared jars, leaving ½ inch of headspace. Wipe the rims, apply the lids and rings, and process in a boiling water bath for 15 minutes. When the processing time is up, remove the canning pot from the heat and remove the lid. Let the jars sit in the pot for an additional 5 minutes. This helps to prevent the salsa from reacting to the rapid temperature change and bubbling out of the jars.


Roasted Salsa Verde (with green tomatoes)

 This salsa is traditionally made with tomatillos but it can also be made with green tomatoes.  We are now in September and I am staring at a bounty of green tomatoes- perfect!

It is equally delicious served with tortilla chips, topping tacos or simmering chicken enchiladas... The roasting adds another level of flavour.

This recipe is based on one from the Ball Book of Canning.


Makes approximately four 500ml jars.

Jalapeno (mostly) Bread and Butter Pickles

 My 2020 garden is bursting with hot peppers!  What to do with the bounty?  Everyone loves bread & butter pickles - why not make some with jalapeños, mostly, with a few other peppers thrown in: poblano, serrano, etc.  Looking forward to topping tacos and burgers or on the side of roasts...  on a charcuterie plate.


I let them sit in the jar for a few weeks before trying them, to allow the heat to mellow and the flavours to meld.  Would you like them milder?  Place them at the back of the fridge for another month and then taste...

If you are new to pickling with hot peppers, it is highly recommended that you wear plastic gloves when cutting and seeding the peppers.  Don't touch your eyes or your lips or they will burn. I know because I tend to forget the gloves :-)

To make approximately three 500ml jars

Sunday, August 23, 2020

Roasted Red Pepper Relish

 This recipe is based on the one found in Kevin West's "Saving the Season"- one of my go to preserving books.

I am proud to announce that all the vegetables needed for this recipe came straight from my garden!  It doesn't get better than that!  I am looking forward to adding it to my charcuterie board in the coming weeks!


This recipe makes 4 250ml jars